How to Waterproof Your Chimney Before Spring Rain
Share
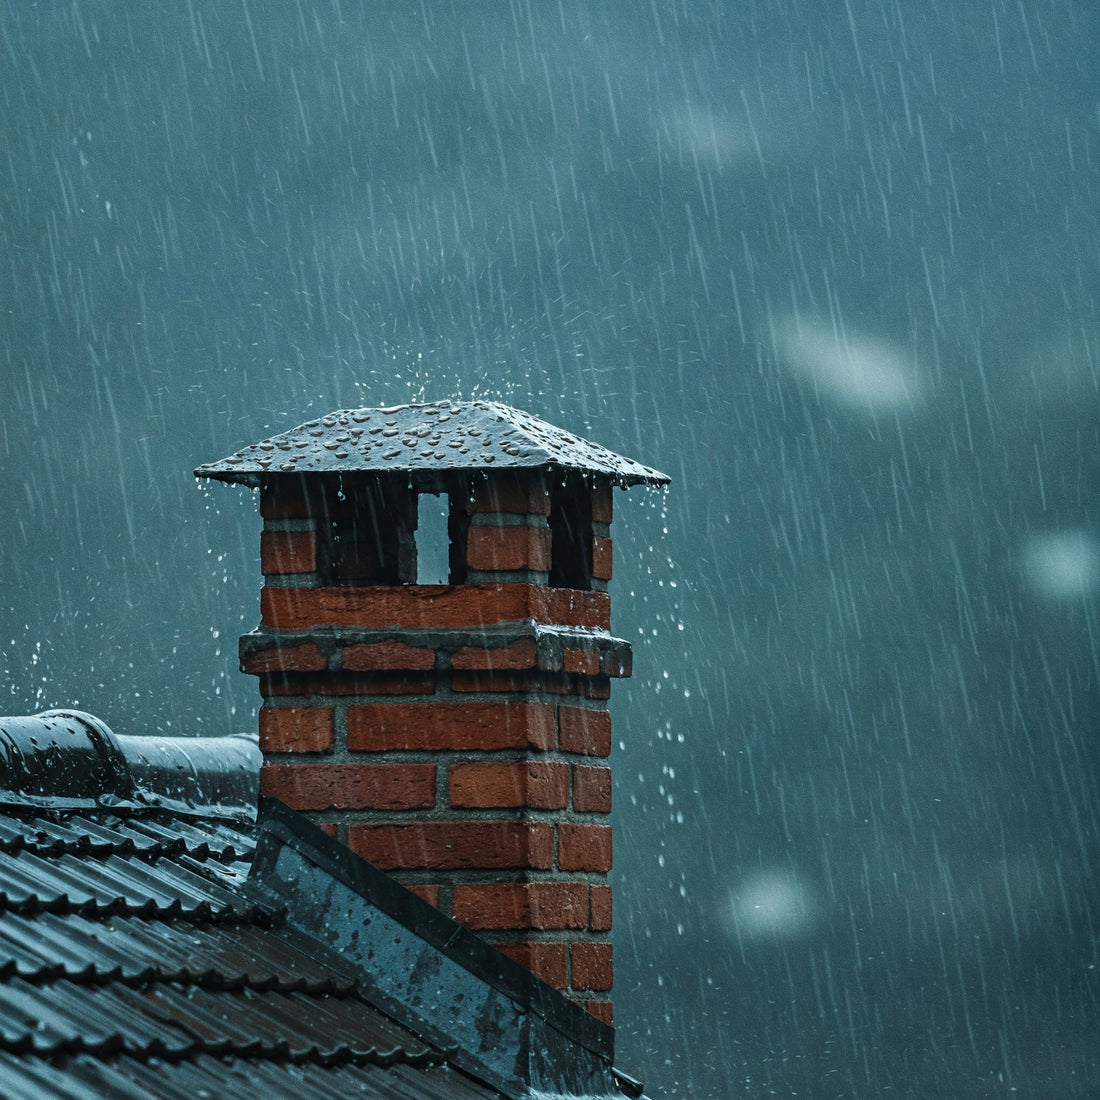
As winter fades and spring showers roll in, one of the most overlooked areas of home maintenance is the chimney. Many homeowners don’t realize that water is a chimney’s worst enemy — it can lead to expensive damage if left unchecked. Waterproofing your chimney before the rainy season begins is a smart way to protect your home and ensure everything stays in tip-top shape.
Let’s walk through what you need to know to keep your chimney dry, safe, and functioning beautifully through the spring season.
Why Waterproofing Matters
Chimneys are constantly exposed to the elements. Over time, rainwater can:
- Seep into masonry, causing bricks to crack or crumble.
- Damage the chimney liner, reducing its efficiency and safety.
- Lead to mold and mildew in nearby walls or attic areas.
Cause rusty damper components or firebox damage.
If you’ve ever noticed a musty smell after it rains or seen water stains near your fireplace, it could be your chimney crying out for some waterproof TLC.
Step-by-Step: How to Waterproof Your Chimney
1. Inspect for Existing Damage
Before applying any waterproofing products, do a thorough visual check:
- Look for cracked or missing mortar joints.
- Check for spalling bricks (where the face of the brick is flaking off).
- Inspect the chimney crown (the top concrete layer) for cracks.
-
Ensure the flashing (metal where chimney meets the roof) isn’t rusted or loose.
If you see major damage, it’s best to call a chimney professional before continuing.
2. Clean the Chimney Exterior
Dirt, moss, and creosote can prevent waterproofing products from adhering properly. Use a stiff-bristle brush and mild detergent or a masonry-safe cleaner. A pressure washer on a low setting can also help — but be gentle!
3. Repair Cracks and Mortar Joints
- Use masonry caulk for small cracks or a tuckpointing mix to refill mortar joints. This step is crucial! Waterproofing will only seal existing structures — it won’t fix broken parts.
4. Apply a Breathable Waterproofing Sealant
Now comes the star of the show: waterproofing!
Choose a siloxane- or silicone-based water repellent specifically designed for masonry. These products are breathable, meaning they allow moisture to escape from inside the chimney while blocking water from getting in.
Application Tips:
- Use a garden sprayer for even coverage.
- Apply from the bottom up in two coats, “wet on wet” (apply the second coat while the first is still soaking in).
-
Cover nearby roofing or siding with plastic to avoid overspray.
5. Install or Check the Chimney Cap
A chimney cap keeps rain, animals, and debris out of your flue. If you don’t have one, install it! If you do, make sure it’s free of rust or damage and securely attached.
Bonus Tip: Schedule a Professional Chimney Inspection
Even if you’re a confident DIYer, a certified chimney sweep can catch things you might miss. Many offer spring checkups and can inspect your liner, flue, and damper to make sure everything’s functioning safely.
Don’t Let April Showers Ruin Your Chimney
Waterproofing your chimney is one of those tasks that pays off in peace of mind. With just a weekend of work and a few supplies, you can prevent costly repairs and extend the life of your chimney.
Before the rainy season hits, give your chimney the care it deserves — your cozy fires and dry living room will thank you!