How to Deep Clean Under Kitchen Appliances Without Damaging Them
Share
Most of us forget what’s under our kitchen appliances—until the smell hits or pests start showing up. Crumbs, grease, mold, and even old utensils love to hide beneath your fridge, oven, and dishwasher. But cleaning under these heavy appliances can be tricky. Done wrong, it could lead to scratched floors, broken components, or even voided warranties.
Here’s how to deep clean under your kitchen appliances the safe and smart way.
Step 1: Unplug the Appliance (If Safe to Do So)
Before moving anything, check if the appliance can be safely unplugged. For fridges and ovens, unplugging avoids electric shock or short circuits during cleaning. If you’re unsure, check the manual or consult a professional.
Tip: For gas ovens, do not disconnect anything unless you're a trained professional. Simply slide gently if space allows.
Step 2: Clear the Area Around the Appliance
Move any rugs, mats, chairs, or obstructions from the surrounding space. You’ll need room to shift the appliance and crouch down for cleaning.
Step 3: Use Furniture Sliders or a Dolly
Never yank or drag your appliance across the floor—it can scratch tiles or damage the linoleum. Instead, use:
-
Furniture sliders (available at hardware stores)
-
A dolly with straps
-
Or even a folded towel or thick cardboard for short moves
Slowly wiggle the appliance forward, side to side, to avoid strain or tipping.
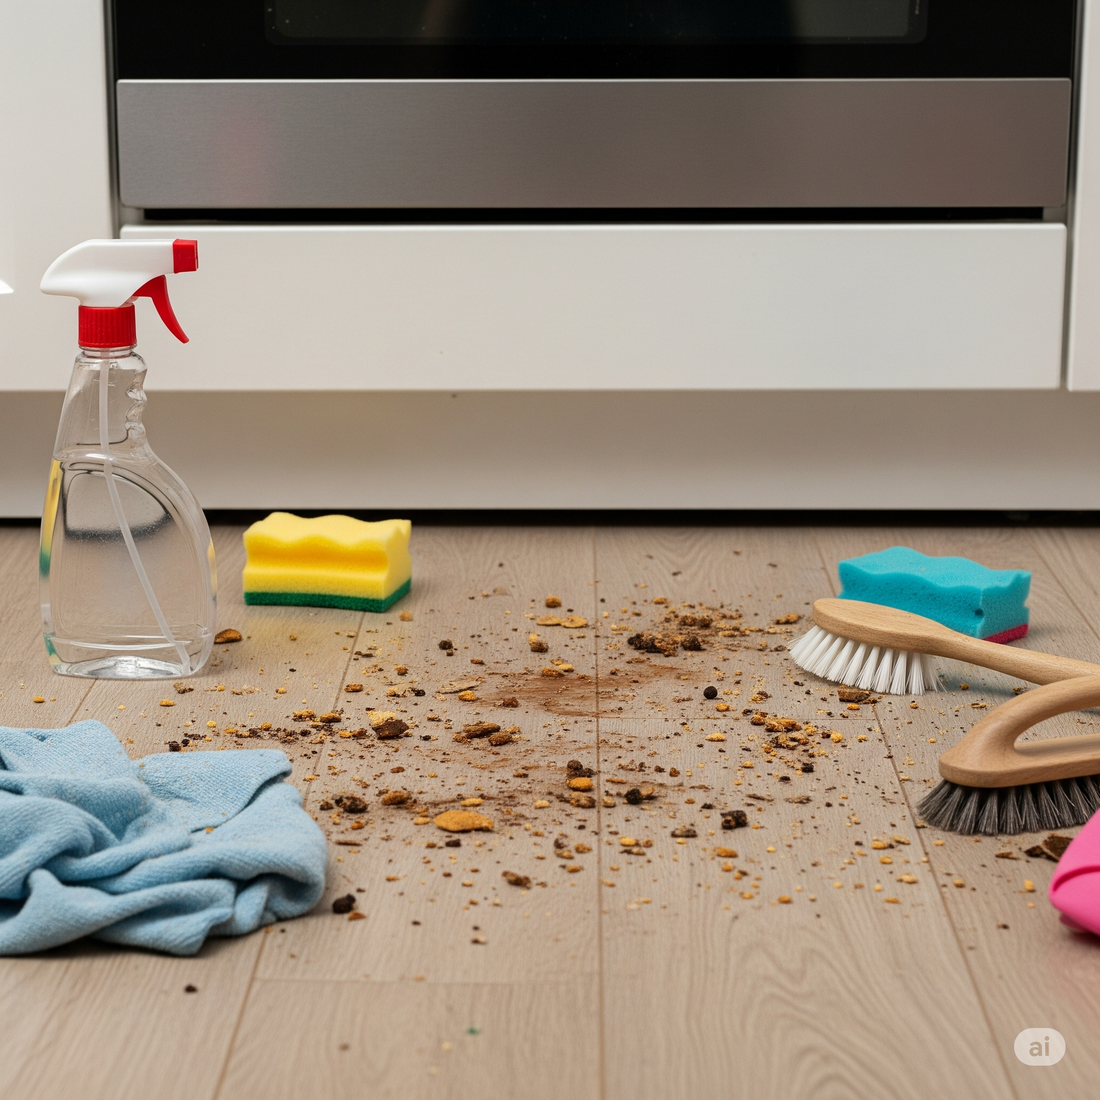
Step 4: Vacuum and Sweep First
Use a vacuum with a hose attachment to pick up dust, hair, and loose debris. Sweep up crumbs and any solid dirt before applying cleaning solution.
Step 5: Use the Right Cleaning Solution
Depending on what’s under there—grease, mold, pet fur, or sticky spills—choose the right cleaner:
-
Degreaser or vinegar + dish soap for kitchen grime
-
Baking soda + warm water for sticky residue
-
Mold spray (or diluted bleach) for mold or mildew
-
Essential oil drops for deodorizing
Apply the cleaner to a microfiber cloth, not directly onto wires or parts, and scrub gently. Avoid over-wetting near electronics or wiring.
Step 6: Clean Appliance Sides and Cords
While you’re at it, wipe down the appliance’s sides, back panel, and any visible cords. This helps prevent future buildup and ensures better air circulation.
Step 7: Dry the Area Completely
Use a dry towel to soak up any moisture. If necessary, let the area air dry for a few minutes before pushing the appliance back.
Step 8: Slide It Back Carefully
Use sliders or assistance to return the appliance to its original spot. Be sure the plug is secure (if unplugged) and cords are not pinched or folded.
Optional: Place a washable mat or tray underneath your appliance to make future cleaning easier.
Bonus Tips:
-
Set a reminder every 6 months to deep clean under appliances.
-
Place dryer sheets or bay leaves under the fridge to repel pests naturally.
-
Check for leaks or damage while you're cleaning—early detection saves money!
Final Thoughts
Deep cleaning under your kitchen appliances might seem like a chore, but it’s worth it. You’ll prevent odors, discourage pests, and even help your appliances run more efficiently—all without damaging your floors or equipment. Do it right, and you’ll only need to worry about it a couple of times a year.
Need a hand with deep cleaning the hard-to-reach places?
Book a professional deep clean with Big Bear Chimney Sweep and leave the heavy lifting to us!